Google Workspace Meeting Room Display: A Setup Guide for Small Offices
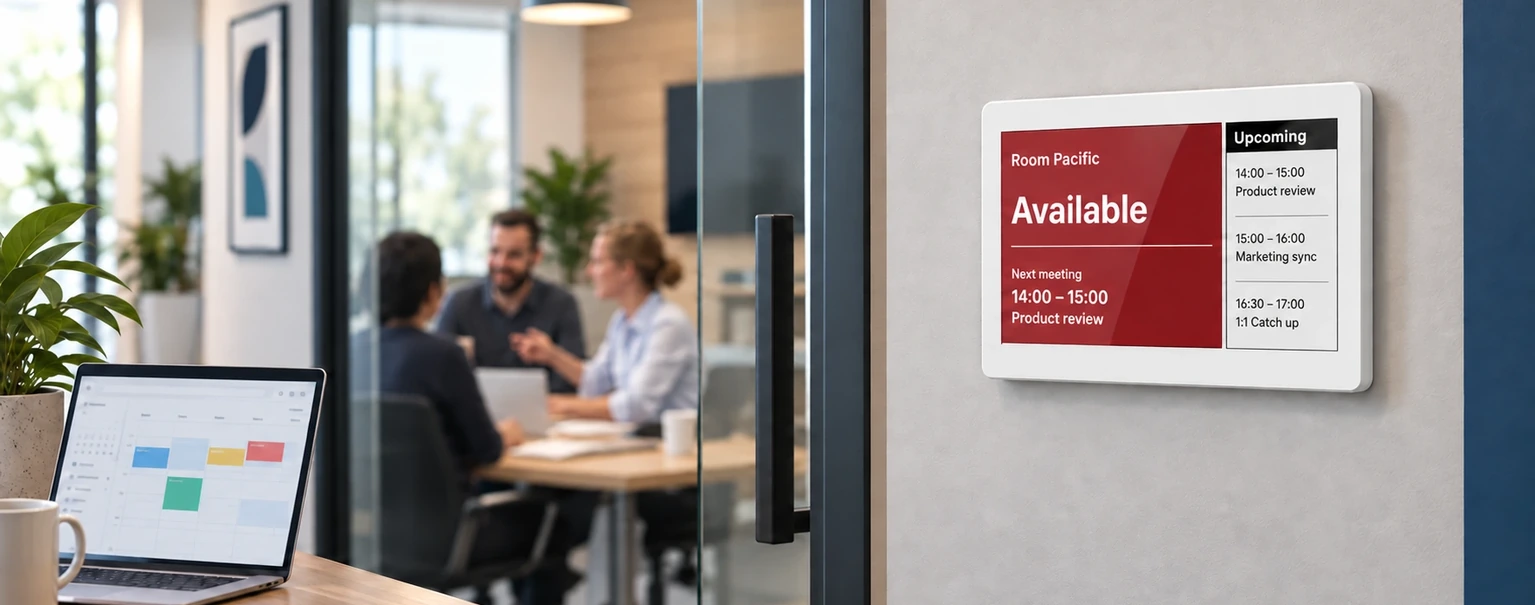
Google Workspace already gives employees a familiar way to reserve shared rooms. They create an event in Google Calendar, add a room resource, and invite attendees. The missing piece is often at the room itself: people still need to know whether the room is free, what is happening now, and when it becomes available.
A Google Workspace meeting room display puts that schedule at the door without replacing the booking process your team already uses. This guide explains the setup decisions a small office should make before connecting Google Workspace room resources to SyncSign displays.
What you need before setup
A typical SyncSign setup for Google Workspace has four parts:
- Google Workspace room resources for the meeting rooms employees can reserve;
- a Google account with access to those room calendars;
- a SyncSign Hub connected to the office network; and
- one SyncSign display for each room whose schedule you want to show.
The Google Workspace calendar remains the scheduling source. Employees continue booking rooms in Google Calendar, while the display presents the relevant room status outside the door.
Step 1: Confirm your Google Workspace room resources
Each physical meeting room should exist as a bookable resource in Google Workspace. Employees can then add the room to an event instead of treating it as a person or managing a separate shared calendar informally.
Before connecting a display, create a short test booking and confirm that the room appears when an employee adds a location or room in Google Calendar. If the room cannot be booked correctly in Google Workspace, fix the resource configuration before working on the display.
Google provides instructions for creating calendars for rooms and shared spaces.
Step 2: Choose how SyncSign will access the calendars
SyncSign needs permission to read the room schedule. Features that change an event, such as booking from the display, ending a meeting early, or extending a meeting, also require suitable edit permissions.
There are two common access approaches:
- Connect a Google Workspace Super Admin account. This is simple because the account can access calendars across the organization, but the security implications should be reviewed by your administrator.
- Use a dedicated booking account and share only the required room calendars with it. This limits the calendars available to the integration and is often easier to align with a least-privilege policy.
For the second approach, add the room calendar to the booking account and grant the level of access needed for the features you plan to use. Read access is sufficient for showing schedules. Booking, ending, or extending meetings requires permission to change events.
Review the detailed SyncSign Google Workspace permission guide with your Google Workspace administrator before authorization.
Step 3: Set up the SyncSign Hub and displays
Install the SyncSign app, create or sign in to your SyncSign account, and add the Hub. The Hub connects the displays to the calendar service and distributes updated room information to them.
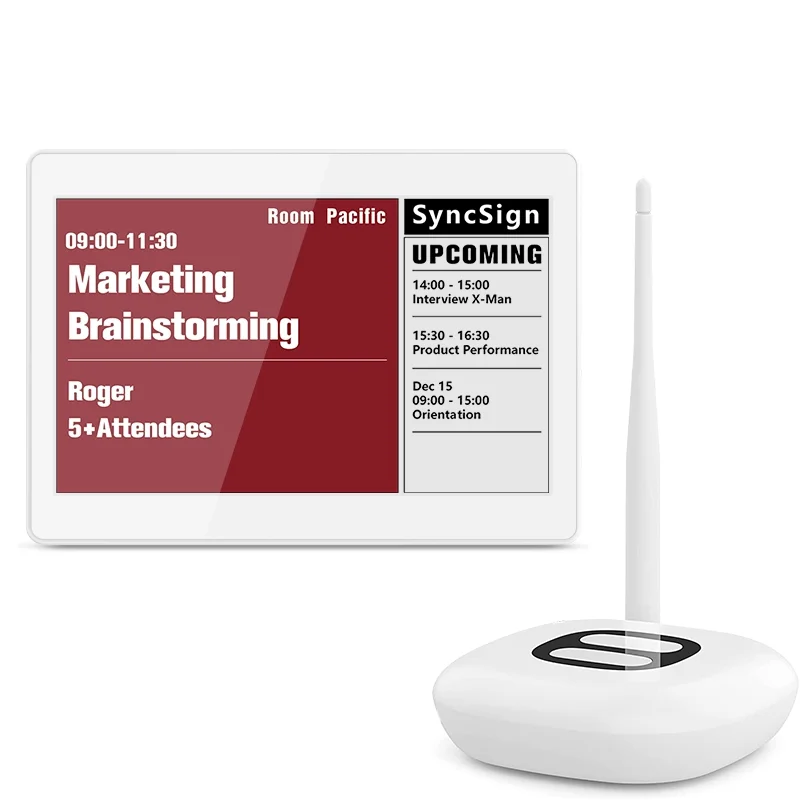
Place each display at its meeting room, then pair it with the Hub. For a small office, review the distance, walls, and number of displays before deciding whether one Hub is sufficient. The current 7.5-inch Display + Hub product guidance recommends keeping displays within 65 feet of the Hub and supports up to 10 displays per Hub. Dense walls or separate floors may require additional Hubs.
View the SyncSign 7.5-inch Display + Hub package.
Step 4: Connect Google Workspace and bind each room
In the SyncSign app or web portal, authorize the Google account selected during the permission review. Add the relevant room calendar, choose a display template, and bind that calendar to the display outside the matching room.
Each room display should be mapped carefully. Use clear device names such as “London Office – Cedar Room” rather than generic names such as “Display 1.” Clear naming makes future support and replacement easier when an office has several rooms.
Step 5: Run a complete booking test
Test the same path an employee will use:
- Create an event in Google Calendar.
- Add the meeting room resource.
- Confirm that the room accepts the booking.
- Check that the correct room name, time, and event status appear on the display.
- Change or cancel the event and confirm that the display updates.
If you plan to allow booking or meeting controls from the display, test those actions separately. A display can show events correctly while booking, ending, or extending fails because the connected account has read access but not edit access.
What should the display show
Small offices usually need only a few pieces of information at the door:
- room name;
- available or occupied status;
- current meeting time;
- the next scheduled event; and
- optional meeting title or organizer information.
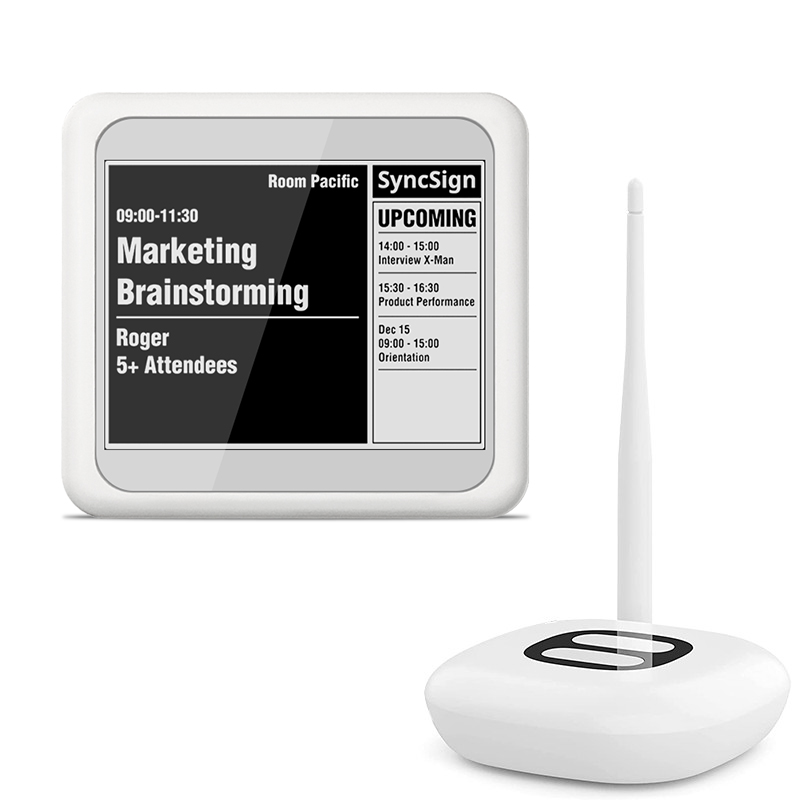
Decide how much meeting information should be visible in a hallway. A legal office, clinic, or HR meeting room may need a privacy-focused template that shows only availability and time. A general collaboration room may benefit from showing the meeting title. SyncSign supports built-in and customized templates, so the visible fields can match the room’s privacy requirements and office branding.
Common setup problems
The room calendar does not appear
Confirm that the room exists as a Google Workspace resource and that the connected Google account can access its calendar. If you are using a dedicated booking account, check that the specific room calendar has been shared with it.
The schedule appears, but users cannot book, end, or extend meetings
The connected account may have permission to view the room calendar but not change events. Review the sharing level and test the action again with a non-critical meeting.
The displayed time is wrong
Check the time zone configured for the room calendar and the event. Google Calendar can assign different time zones to calendars and individual events, which can create unexpected display times if the settings do not match the office location.
The wrong schedule appears outside a room
Verify the calendar-to-display binding in the SyncSign portal. One display should be bound to the intended room resource, and device names should identify both the location and room.
A practical three-room rollout
For an office with three nearby meeting rooms, a simple rollout can begin with three displays and one Hub, subject to distance and building conditions. Create and test the room resources first, connect only one display, and validate the complete booking flow. Once the first room works as expected, repeat the same configuration pattern for the remaining rooms.
This staged approach makes permission or naming problems easier to find than connecting every room at once. It also gives the team a chance to decide which event details should be visible before the template is copied across the office.
Keep the booking process employees already know
A room display should make Google Workspace bookings easier to see, not introduce a second scheduling process. Employees can continue creating events and selecting room resources in Google Calendar. SyncSign adds the physical status display that helps people choose the right room and avoid interruptions at the door.
Explore SyncSign room signage for Google Calendar and Google Workspace, or contact SyncSign to discuss your room count, office layout, calendar permissions, and deployment requirements.
Google Workspace and Google Calendar are trademarks of Google LLC. SyncSign is an independent solution provider and is not sponsored or endorsed by Google LLC.
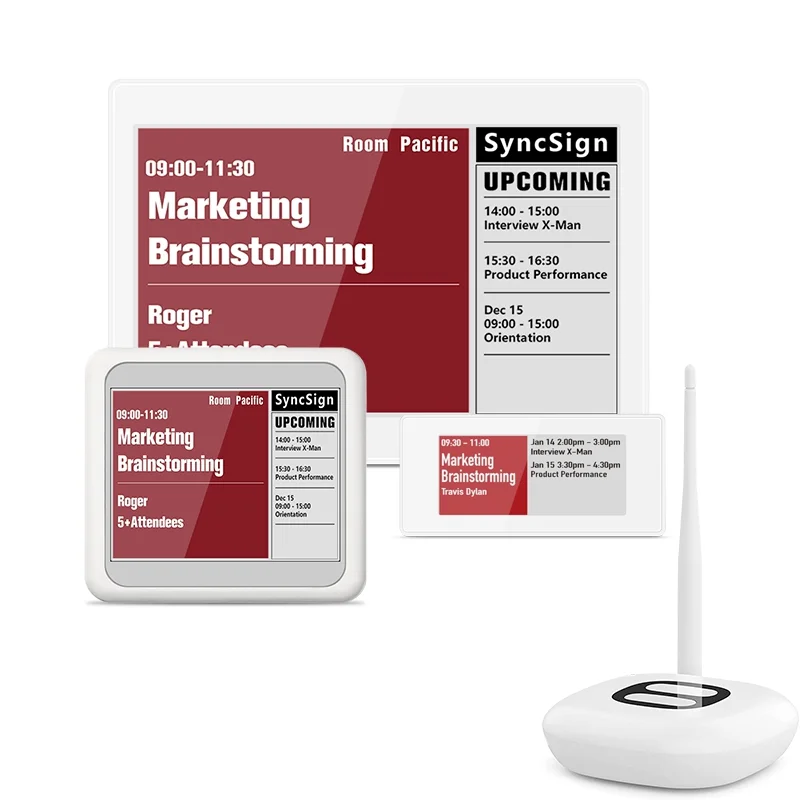
Choose the SyncSign package that fits your rollout
Start with the display sizes your meeting rooms need and scale without adding unnecessary workplace software.